Minecraft Image Converter for Buildable Block Art
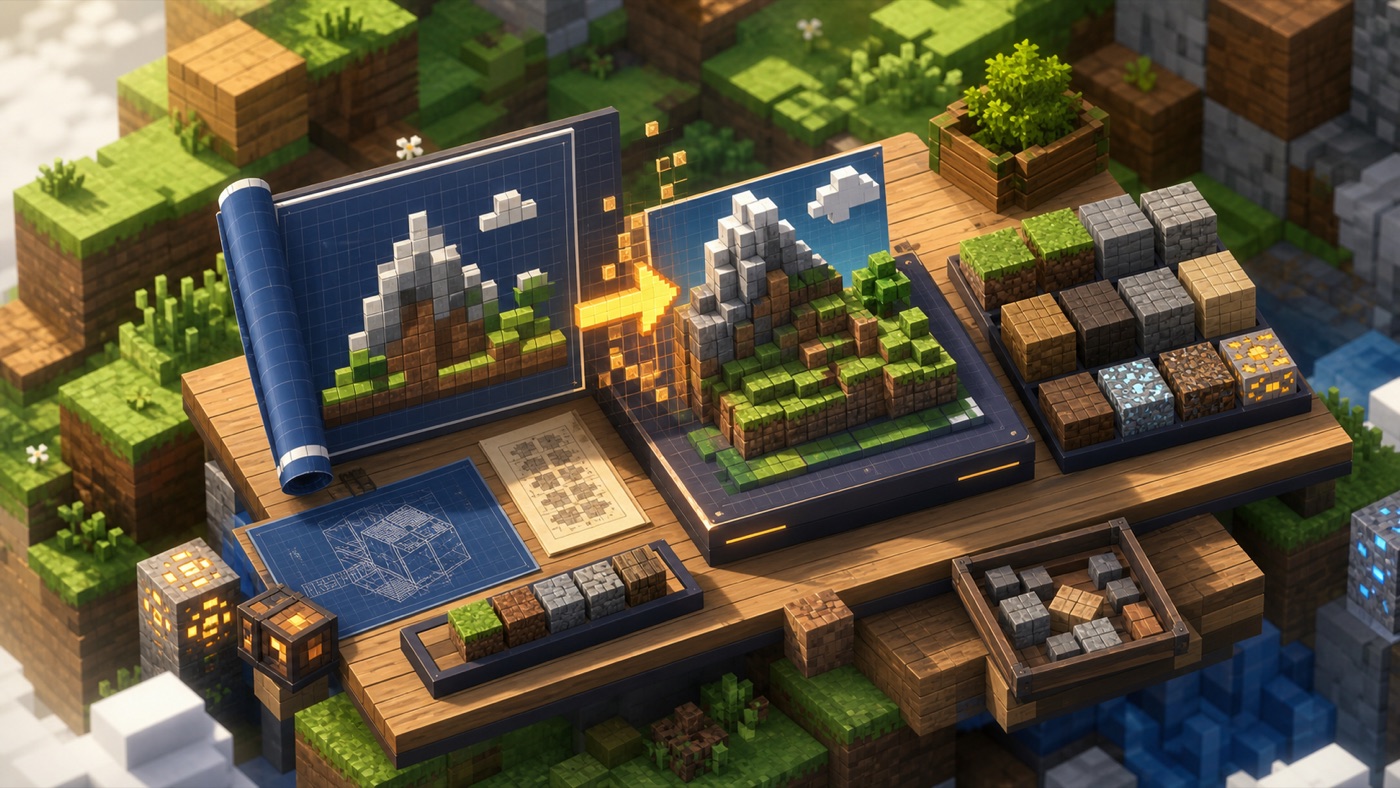
This minecraft image converter turns an existing PNG or JPG into a Minecraft block plan you can actually build. Choose the size and palette, preview the pixel art, then download the blueprint and material list without uploading your image.
Plan the size first
See width, height, and total blocks before building
Know the materials
Get sorted block counts and stack estimates
Keep images local
Convert in your browser without uploading artwork
What is a Minecraft image converter?
A Minecraft image converter turns an existing picture into a block-by-block plan for Minecraft pixel art. It answers the practical builder question: what blocks should I place, how big will the build be, and how many materials do I need before I start?
It translates color into blocks
The converter reads the pixels in your image and matches each one to a nearby Minecraft block color from the selected palette.
It turns art into a build plan
Instead of only showing a pretty preview, it gives you dimensions, total block count, material counts, and downloadable files.
It works with images you already have
Use logos, icons, avatars, sketches, or screenshots. This is not an AI generator; it converts an existing image into a Minecraft-friendly plan.
The hard part is not making an image blocky. It is making it buildable.
Most players arrive with a logo, avatar, poster, or reference image and a simple goal: put this in my world. The pain starts when the image becomes too large, the colors look muddy, or the material list is missing. This minecraft image converter is built around those planning problems.
Guessing scale wastes builds
A 128 by 128 image sounds small until it becomes 16,384 block placements. Seeing the block count early helps you choose a size that fits your wall, map, survival resources, or team.
Manual color matching gets messy
Photos and logos rarely map cleanly to Minecraft blocks by eye. Palette matching gives you a practical first draft, then dithering and smoothing help you compare clean logos against softer images.
A preview is not enough
Builders need to know what to gather. A material list turns the conversion from a visual mockup into an action plan you can sort, share, and divide across players.
Uploads can be a privacy problem
Server logos, private sketches, and unfinished event art do not need to leave your device for an early conversion. Local browser processing keeps the test loop fast and simple.
Where a Minecraft image converter helps most
The tool is useful whenever the image already exists but the build plan does not. A minecraft image converter helps you test the idea, size the build, and turn the result into something a player or team can place block by block.
Server logos and spawn walls
Convert a community logo into a clean wall plan, then check whether the final dimensions fit the entrance, hub, or scoreboard area.
Map-art drafts
Test square layouts before committing to a large map-art build. Use the total block count to decide whether the idea is realistic.
Survival resource planning
See which blocks dominate the image before you gather materials. The CSV helps turn a design into a resource run instead of guesswork.
Team building
Give builders the preview and material list, then split work by rows, quadrants, or dominant block groups.
Pixel avatars and event banners
Turn player icons, event art, badges, and small graphics into blocky builds that stay readable from normal viewing distance.
Creative-mode prototyping
Try multiple widths, palettes, and dithering settings quickly before spending time in-game placing the final version.
From image file to build-ready outputs
We focus on the outputs a builder can act on immediately: a preview to judge the design, dimensions to judge the effort, and material counts to plan the build. That is the difference between a visual filter and a useful Minecraft image converter.
Local image conversion
The File API and Canvas API decode the selected image in the browser. No account, upload queue, or server storage is required for the conversion path.
Buildable dimensions
Choose the output width and the tool calculates height from the original ratio, so the plan stays proportional while showing the real placement cost.
Palette choices
Start with wool or concrete for clean graphics, or use the full build palette when photos need warmer natural blocks, terracotta, stone, wood, nether, or ore colors.
Preview and exports
Download a pixelated PNG blueprint, CSV material list, command function, datapack zip, structure NBT, Sponge schematic, map.dat zip, and reusable project JSON.
The material list is where the preview becomes a plan
After conversion, the material list shows which blocks dominate the image and how many stacks you need. Use it to gather resources, assign sections to teammates, or decide that a build should be smaller before anyone starts placing blocks. This is where a minecraft image converter becomes a practical build planner.
How to get a cleaner block conversion
A converter gives you a strong first draft, but the best Minecraft builds still come from choosing the right source image, scale, and palette. Use this minecraft image converter as a planning step, then run these checks before you commit to a large build.
Crop before uploading
The converter works best when the subject fills the frame. Remove empty borders, tiny text, and unnecessary background before conversion.
Choose a realistic width
Use 48 to 80 blocks for survival wall art. Larger builds can work, but check the total block count before promising a team project.
Pick the palette for the job
Use concrete for saturated logos, wool for bright classic pixel art, and the full palette when the image needs stone, wood, grass, or warmer tones.
Compare dithering, do not assume
Dithering helps gradients and photos, but it can add noise to sharp logos. Try the available methods and keep the version with the clearest shapes.
FAQ
Common questions about using a minecraft image converter for wall art, map art, and material planning.
Does the converter upload my image?
No. The image is decoded in your browser with the File API, Canvas API, and a local Worker. The preview, materials, commands, NBT, schematic, and map.dat exports are generated locally.
What image formats work best?
PNG, JPG, and WebP files work well. Logos and sprites usually look best with smoothing off, while photos usually look better with smoothing and dithering on.
Can I export a schematic or Litematic file?
You can export Java structure NBT, Sponge .schem, datapack commands, and map.dat files. Litematic is not included yet because it needs separate validation against Litematica-specific metadata.
Why cap the output width?
A 256 by 256 output can mean 65,536 placements before 3D map-art height steps are added. The cap keeps conversion fast and helps players choose a plan they can actually build.